Simple but thorough cleaning jobs can add hundreds to the value of your car, but at minimal cost. In this series, Autoglym Professional brings you top tips on jobs you can do for less than £50 but will add masses of value to your car.
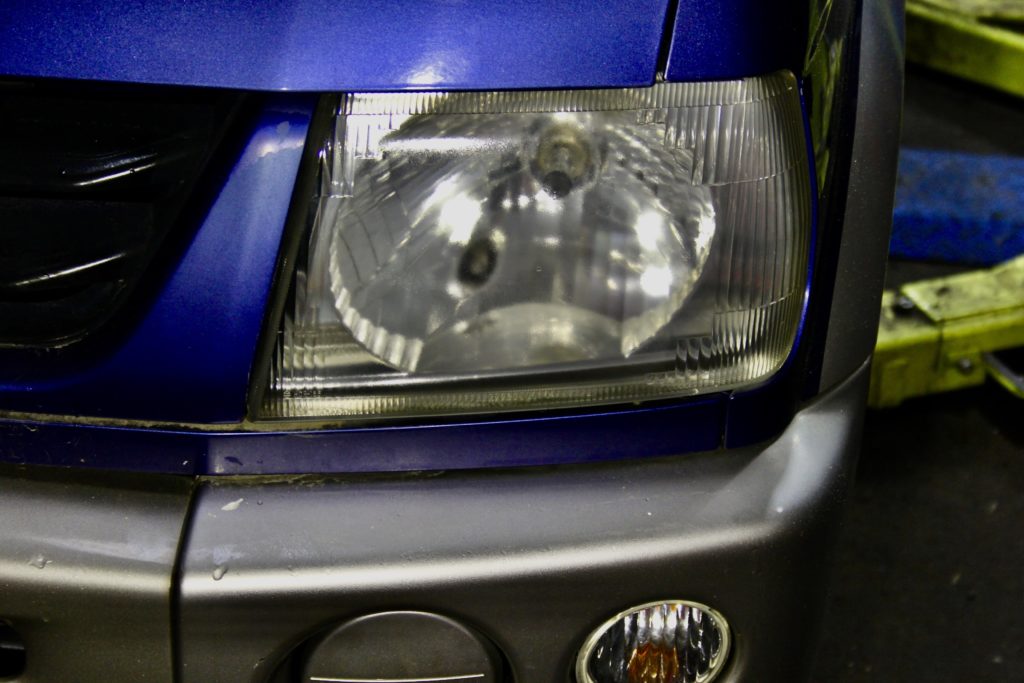
One of the scourges of modern cars is cloudy headlamps. From the early 2000s, the use of softer, more malleable plastics became a common feature of car design as manufacturers added increasingly large ‘glass’ areas to their cars, but the downside of this is that modern lamps are far more prone to deterioration than older lenses and can get very cloudy and dim. And with modern headlamp units costing up to £500 to replace (so £1,000 a pair on luxury models such a Range Rover) and usually over £100 on even more basic models, they can be an expensive item to replace.
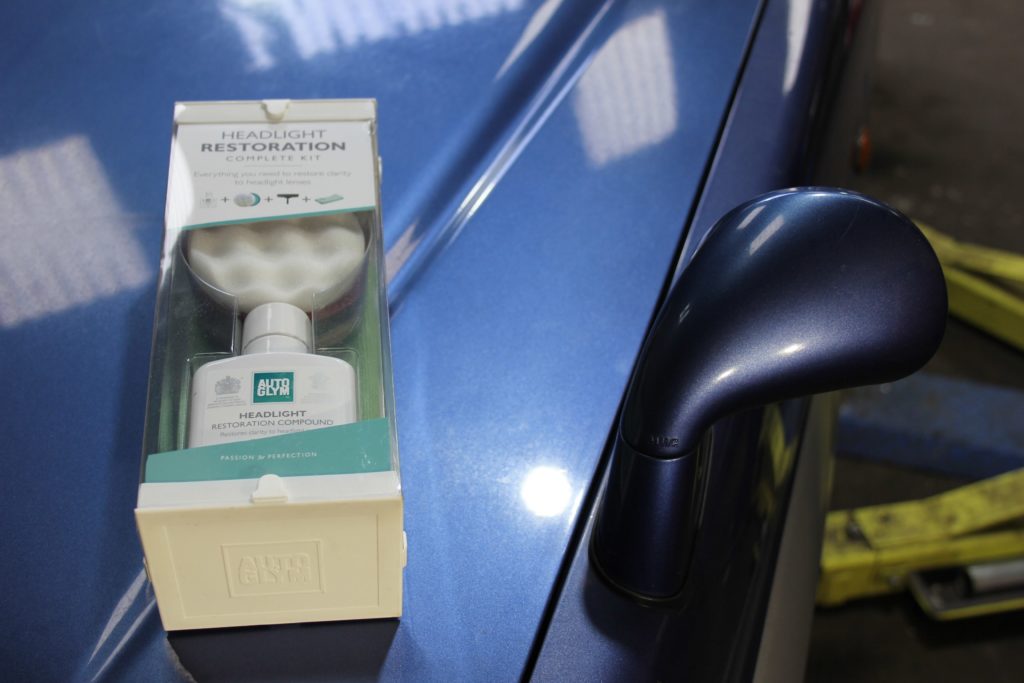
Luckily, Autoglym Professional has the answer in the form of its multi-award winning Headlight Restoration Complete Kit, which will clear your car of automotive cataracts, increasing light performance, saving hundreds of pounds and adding huge appeal to any car you’re wanting to sell, as it will reduce a potential buyer’s haggling potential as well as make it look far smarter than other examples on the market.
Here’s how you do it.
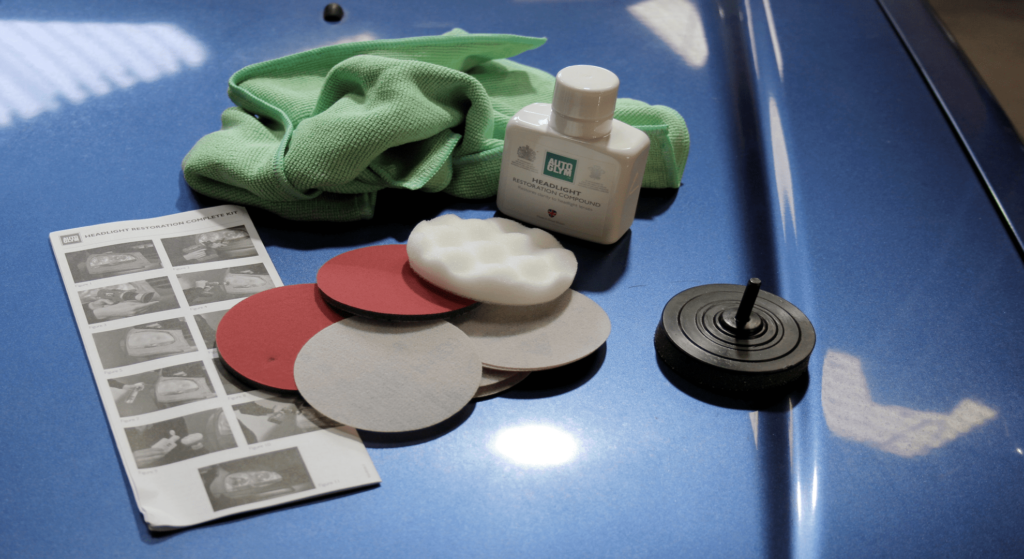
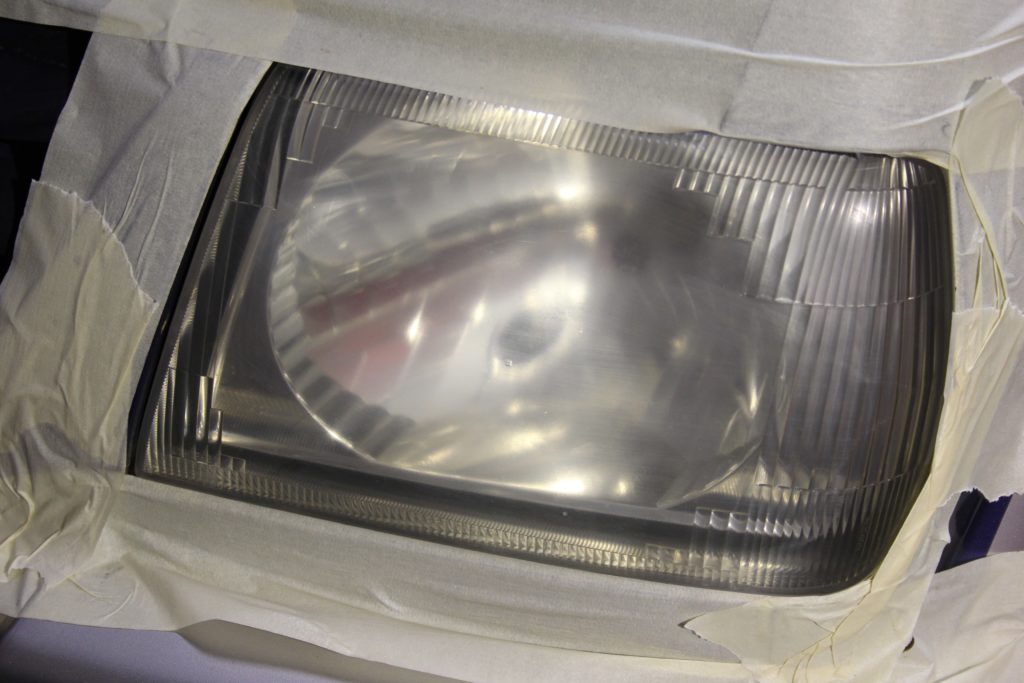
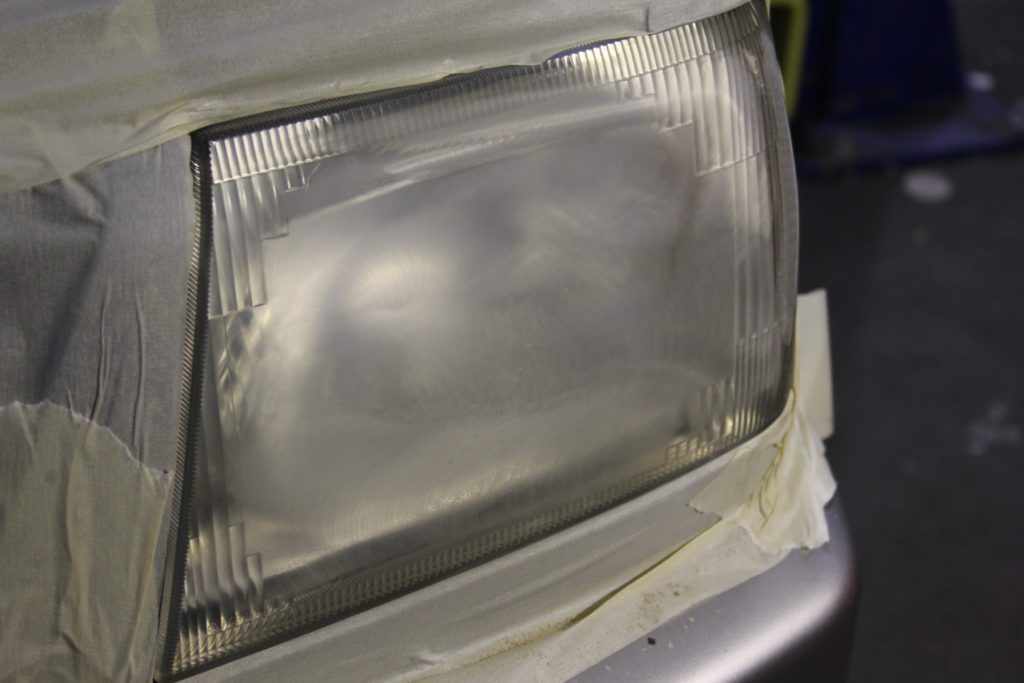
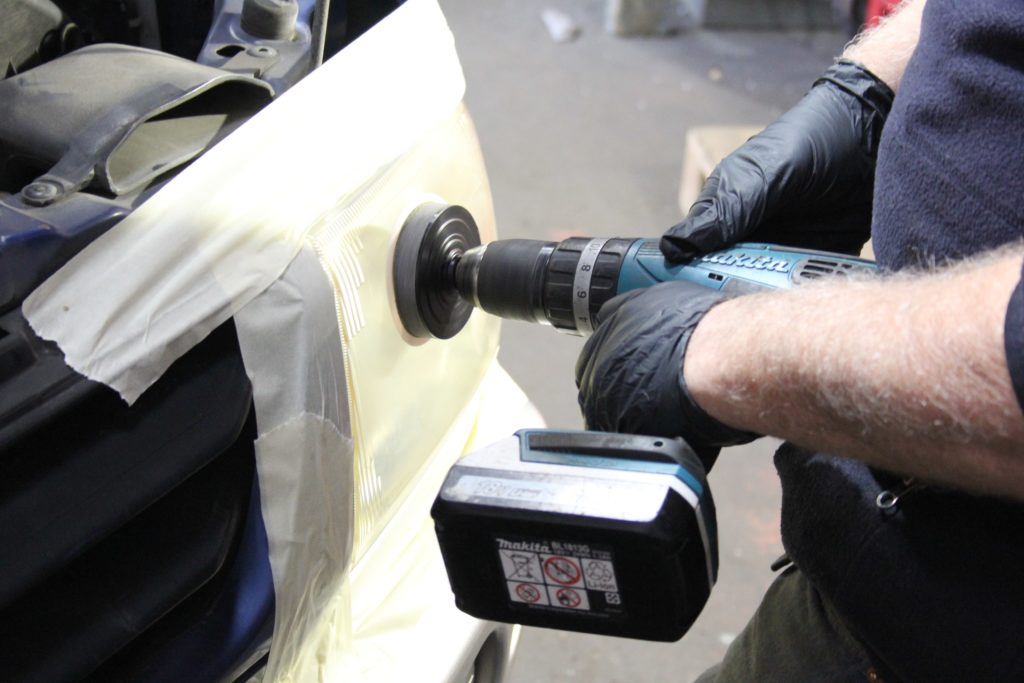
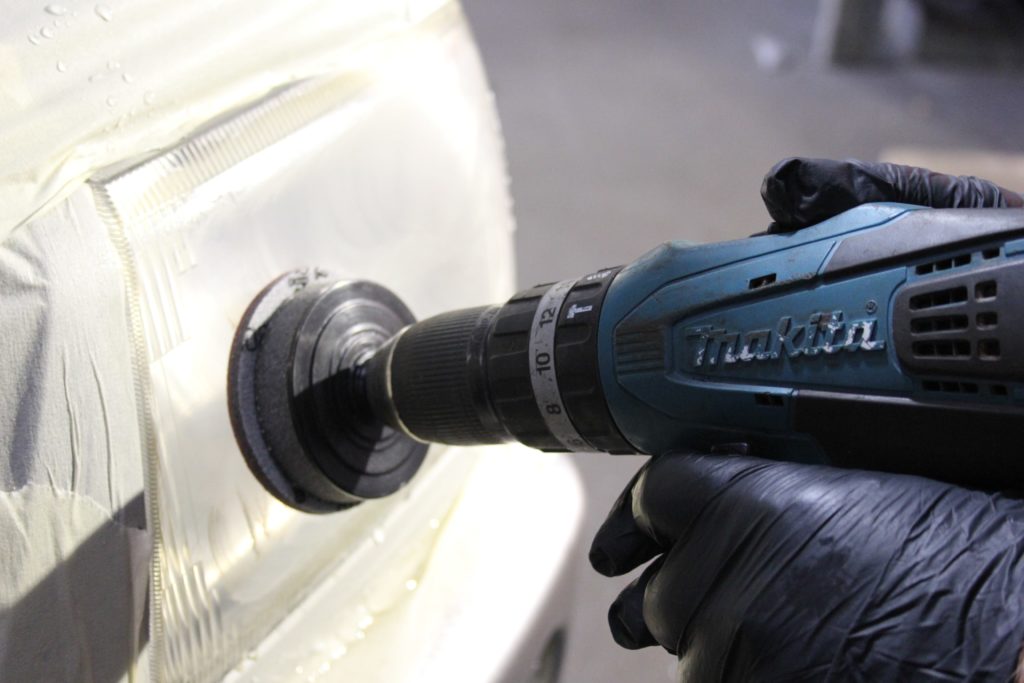
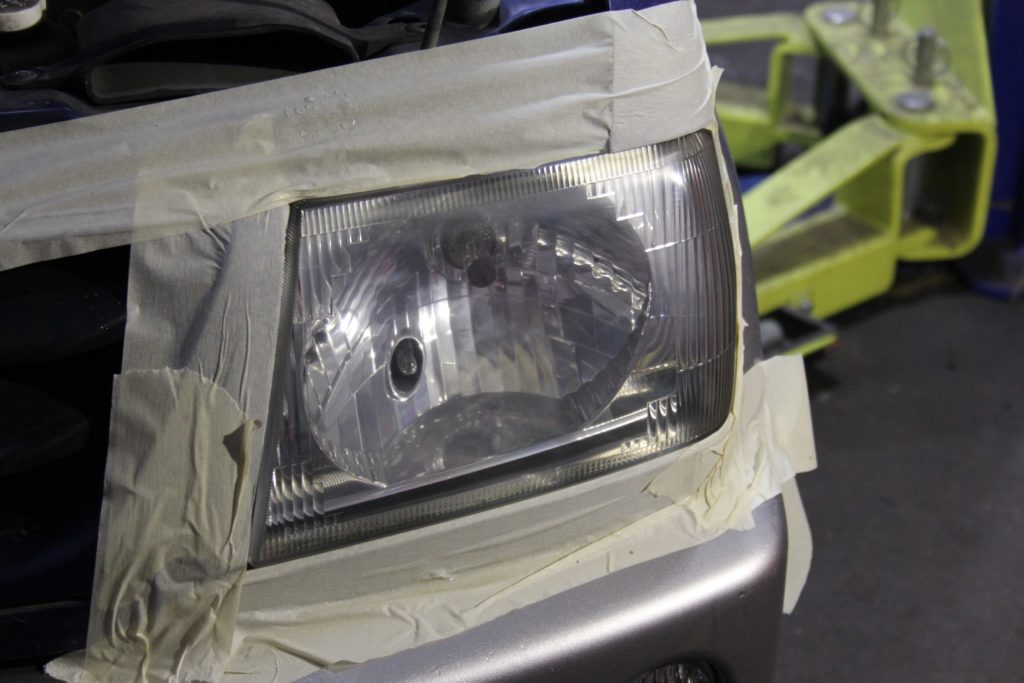
- Give the headlights a wipe clean and make sure they are dry, then carefully mask off all surrounding paintwork and trim with masking tape, using two or three layers.
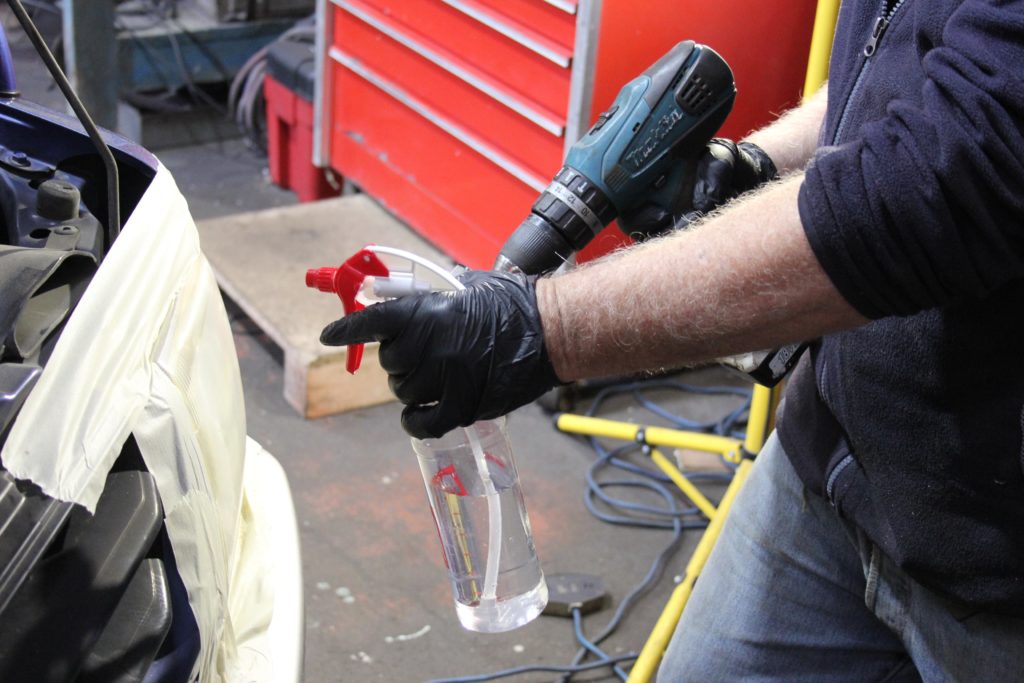
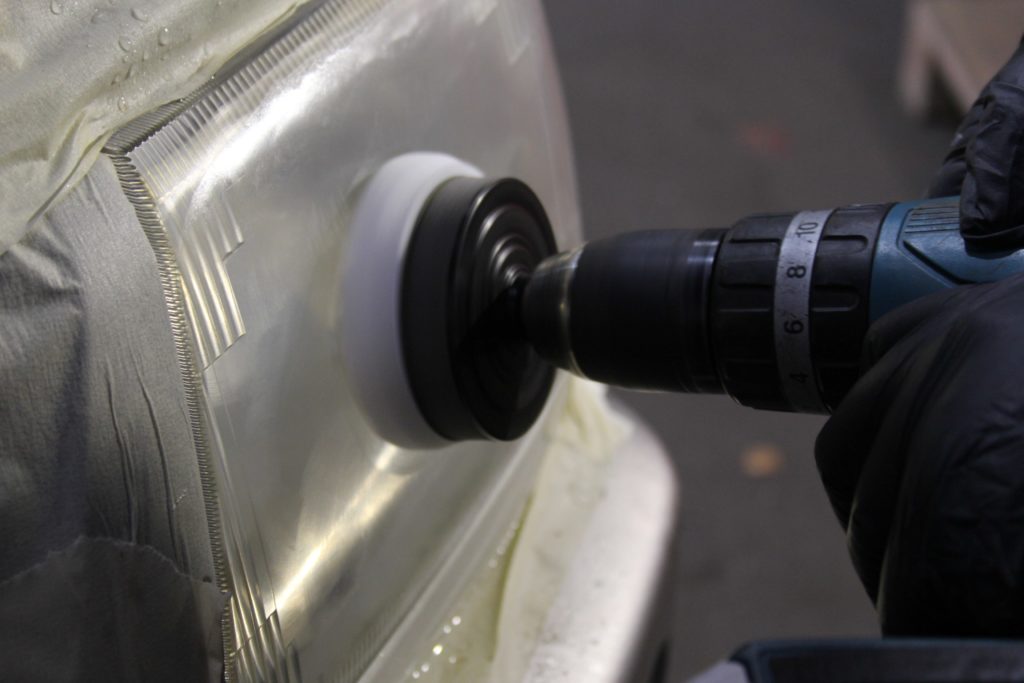
- Using a hand-held drill, apply the 800-grit abrasive disc from the Autoglym Headlight Restoration Complete Kit and work your way around the lamp in side-to-side then up and down motion. Do this slowly and with moderate pressure, being careful not to catch the car’s paint. For awkward areas, remove the disc and rub the edges down by hand. Occasionally spray a light misting of water on the lamps to avoid burning the plastic.
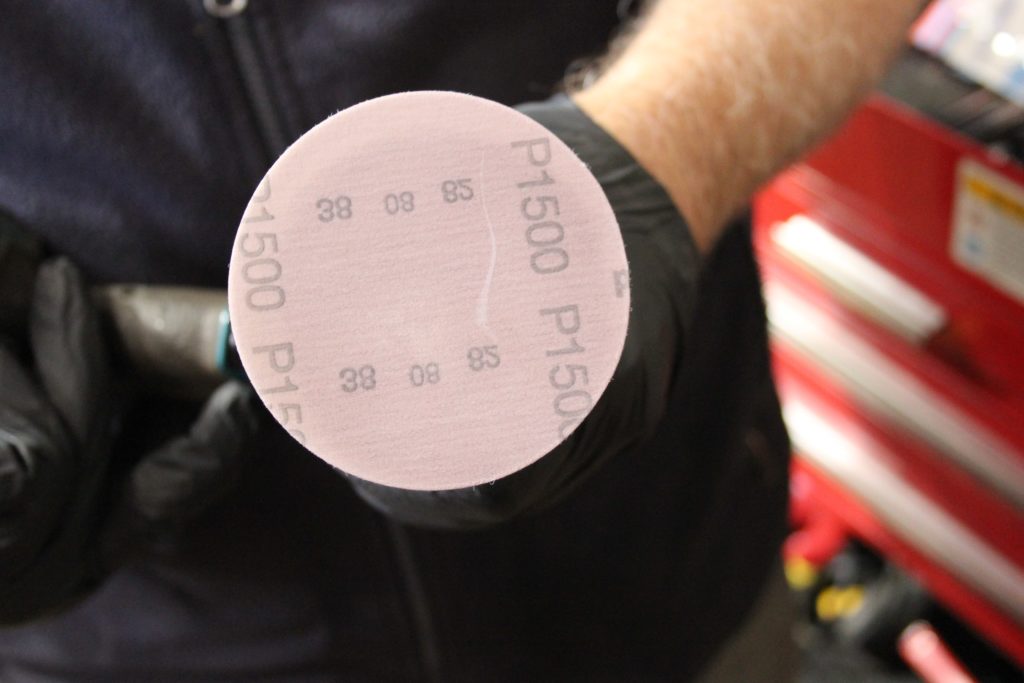
- Repeat the process with the 1500 grit discs on the drill. When a uniform finish is achieved, you’ll notice the plastic start to become less cloudy and opaque as you work up the grades of finer sanding and polishing until it is restored back to see through.
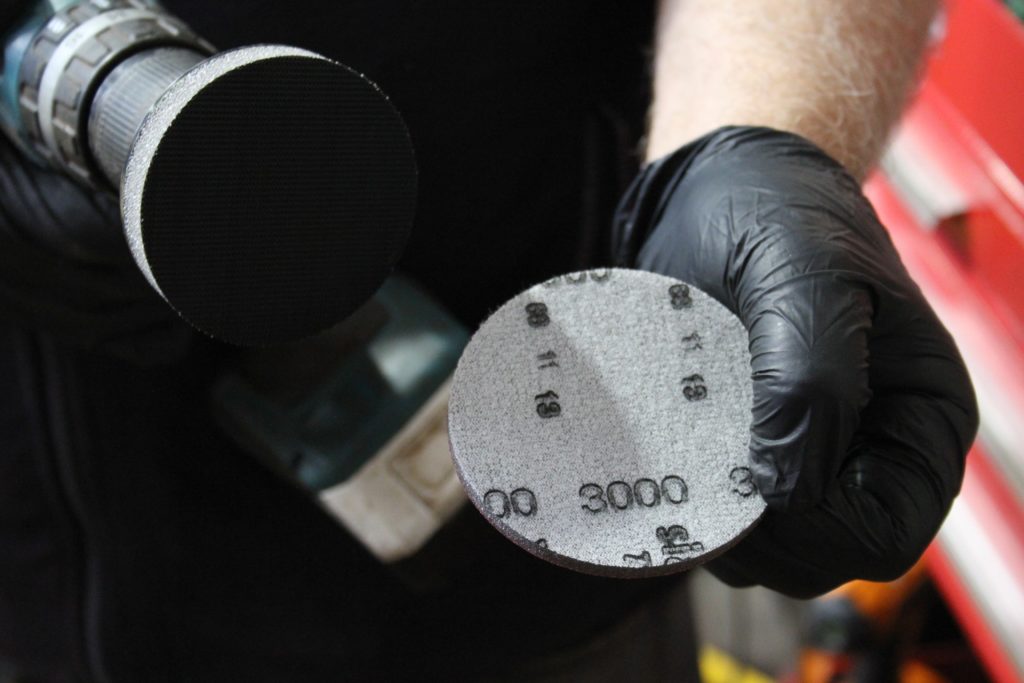
- Repeat with the 2000-grit sanding pad, adding water to make for an even finer finish.
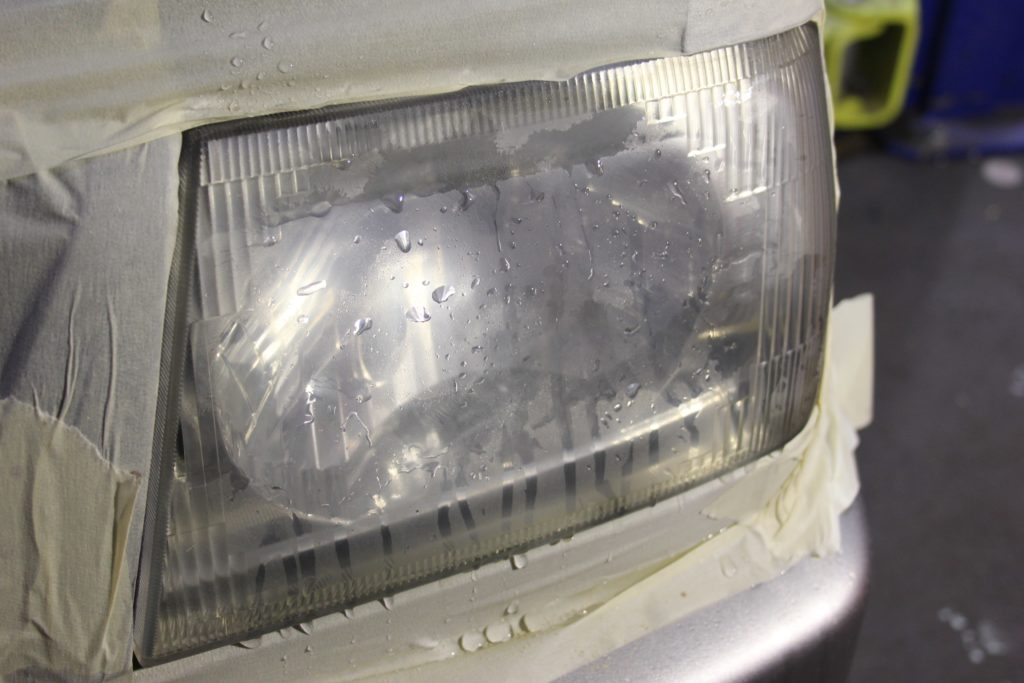
- Using the 3000-grit sanding pad and a spray bottle of water, work your way across the entire headlamp – you’ll be able to see at this point that the lens is becoming see through and clear now, and it’s a really satisfying part of the job.
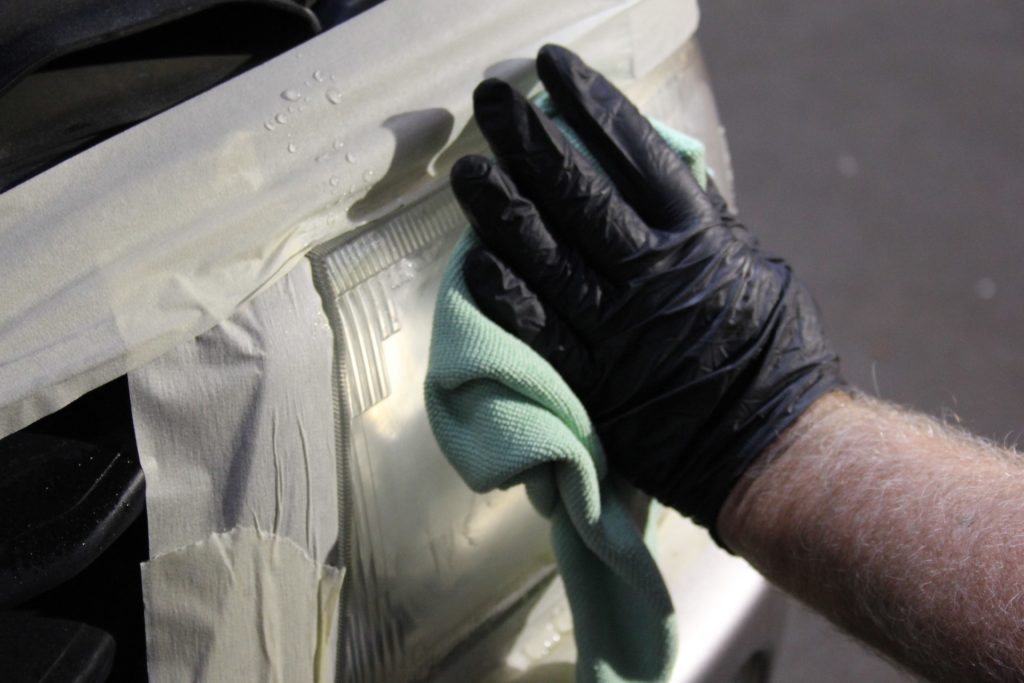
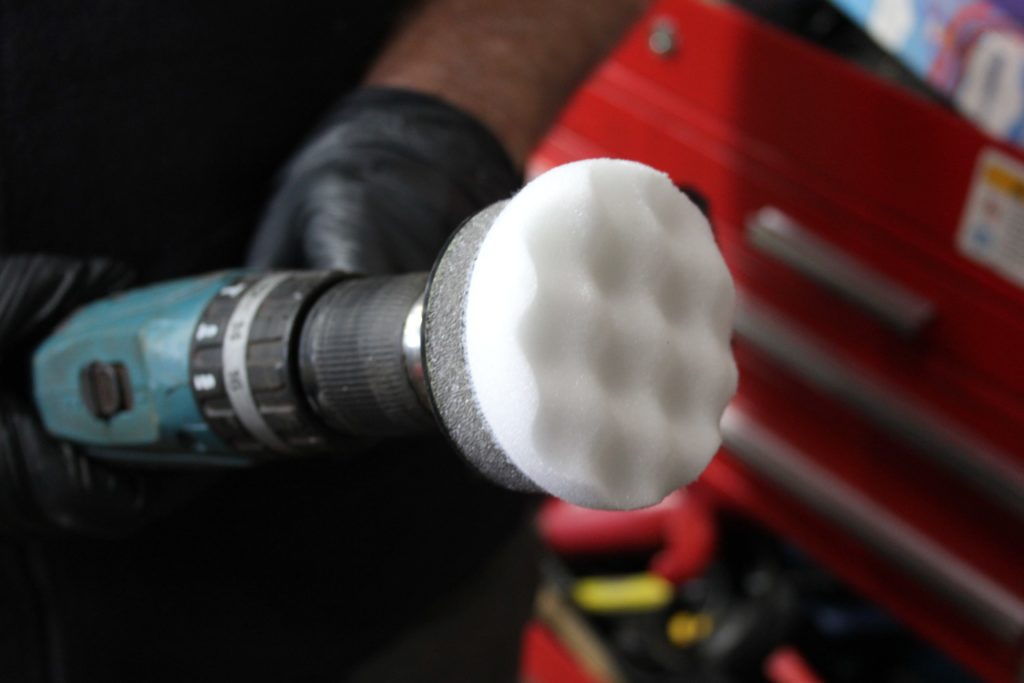
- Fit the waffle polish applicator to the drill head and apply a small amount of Autoglym Headlight Restoration Compound to the pad. Dab it across the headlamp first before turning the drill on. Spread the compound across the lamp and wipe off with an Autoglym Perfect Polishing Cloth.
- Seal your newly restored headlamp using Autoglym Radiant Wax Polish, ensuring that the now-translucent lens will remain that way for a long time to come.
- Remove the masking tape, stand back and give yourself a big pat on the back – you’ve just make your car look a million times better.