There are common misconceptions about tightening, follow our three recommendations to ensure your team is providing the right level of torque. As supervisors and maintenance managers, you need to ensure that the heavy vehicles or machinery that go through your workshop are appropriately maintained following manufacturers specifications, especially when it comes to tightening applications. One specific area that needs attention is tyre changing.
Questions you should ask yourself to make sure your team is providing the right amount of torque include:
1.Are ‘blue books’ available for your team to consult?
2.How often do you review your internal tightening processes?
3.Do you carry out surface preparation as standard during your processes?
4.Are the tools used able to reach the right torque?
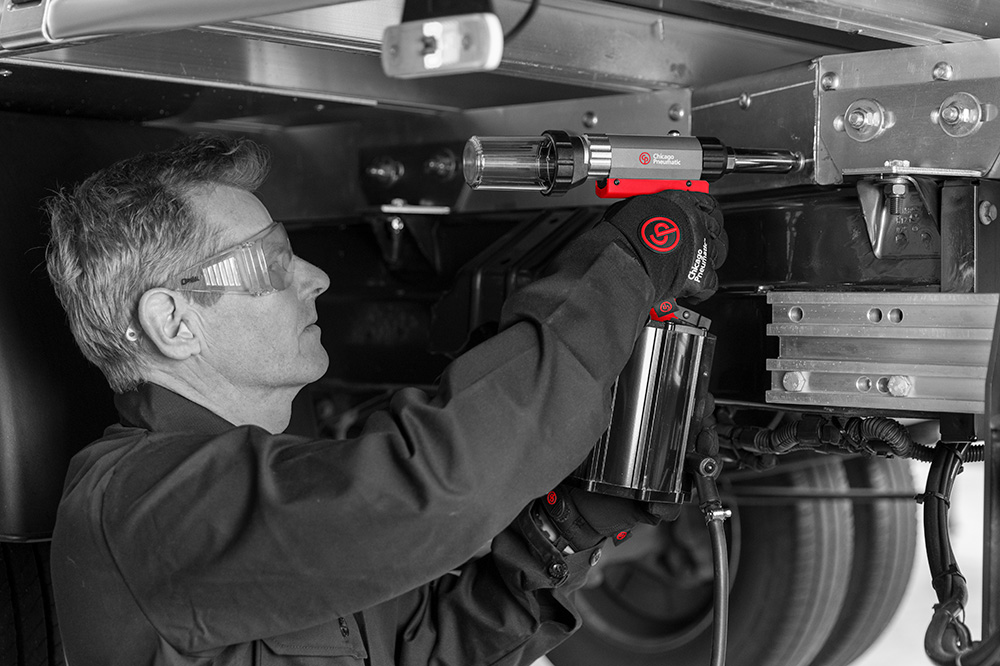
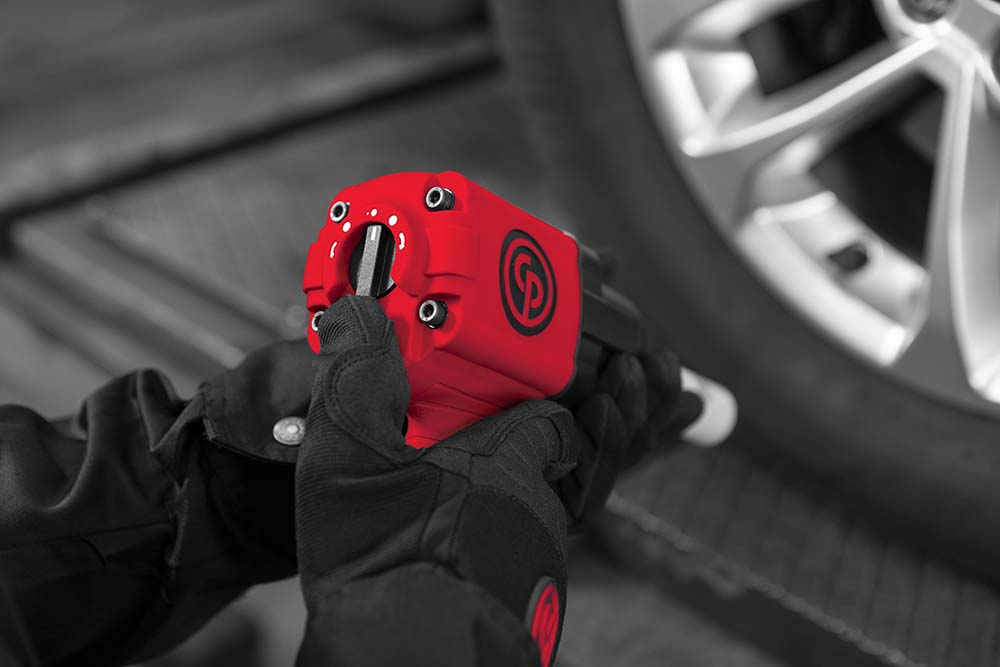
Tyre changing on any type of vehicle is a regular job for mechanics and it can seem quite straight forward. As such, operators can tend to overlook the tightening specifications recommended by the vehicle manufacturers. This practice should be avoided however, as it can lead to downtime and serious safety consequences.
Common misconceptions “heard in the field” when tightening:
The more you tighten, the better. False. In most cases, more torque means more tension applied to a bolt, resulting in overtightening which increases the risk of a stud break.
The more a truck is carrying, the more you need to tighten. This is a myth; manufacturers’ recommended torque specifications should be followed at all times. Believing this myth can lead to overtightening and disastrous consequences.
To get the right torque applied, you just need to count 1, 2, 3 while tightening. Well…, that’s false! Proper torque requires using the correct tools, procedures and patterns as our torque sense blog explains.
Recommendations to share with your team to get the right tightening:
Be aware of the manufacturers’ specifications and refer to them
Manufacturers always provide recommendations for each tightening job, and these can be found in the specifications book, or maintenance manual, which is more commonly called the ‘blue book’. Before you start tightening you should double check the book to ensure your job is performed to the best standard.
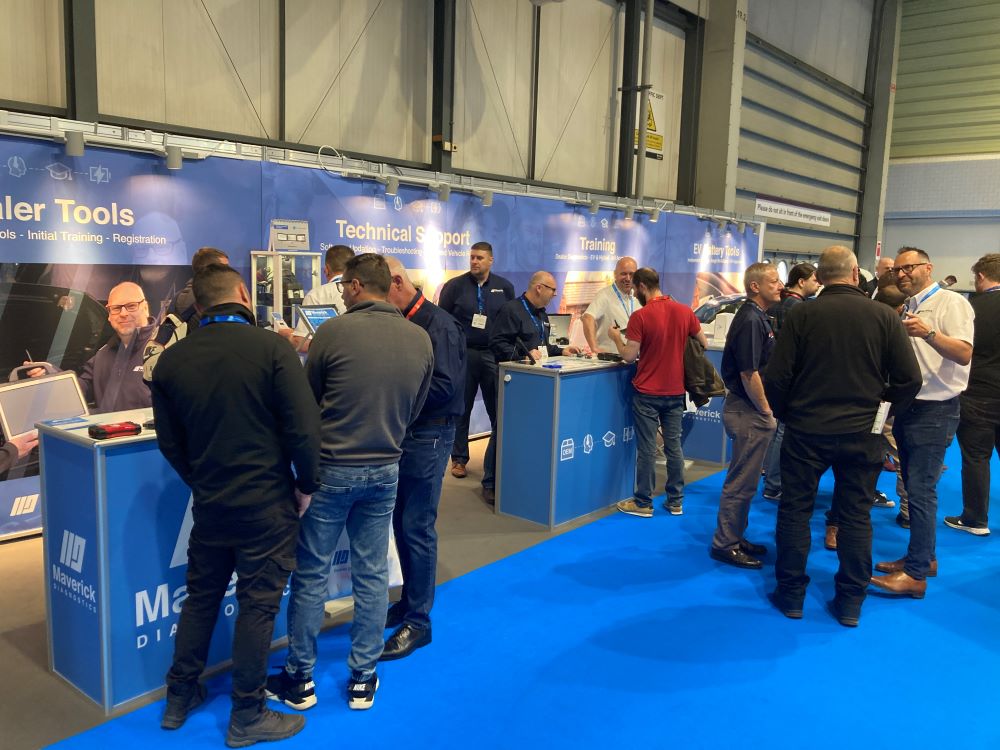
With new innovations in materials and tools, it’s important to keep your knowledge current and follow the latest specifications. For example, nowadays most wheel rims are made from aluminium instead of steel but this does not mean that aluminium rims are harder and more torque is needed. The rim material affects the torque that should be applied. Continuous training is highly recommended and this can be offered by different providers.
Surface preparation is key
A substantial amount of torque is “lost” or wasted by friction during tightening. Therefore, we advise preparing the surface properly by cleaning all the elements to eliminate any rust, dust and dirt. Once you finish cleaning and before you start tightening inspect all components: wheel, studs and long nuts. Find out more about tightening preparation tips in our “torque sense when changing wheels” blog.
Clamping force can be affected by other factors: parts quality, airline set up and tools maintenance or calibration. Christophe Roland, Very High Load Specialist at Chicago Pneumatic
Prevent over-tightening
Wheel nuts that are over-tightened can often become damaged or broken, especially when hitting bumps in the road. This can result in a potentially catastrophic failure of the wheel, posing a serious risk to the safety of the heavy vehicle and its drivers. It’s important to use the right combination of tools to prevent this and achieve the right level of torque.
If you spot any signs of deformation or stretch on a stud, there is a high probability that tightening is above manufacturers specifications. Therefore, it’s key to replace the stud as soon as possible, and review your tightening processes. Christophe Roland, Very High Load Specialist at Chicago Pneumatic
3 recommended tools (or combinations) to prevent over-tightening:
- Manual torque wrench
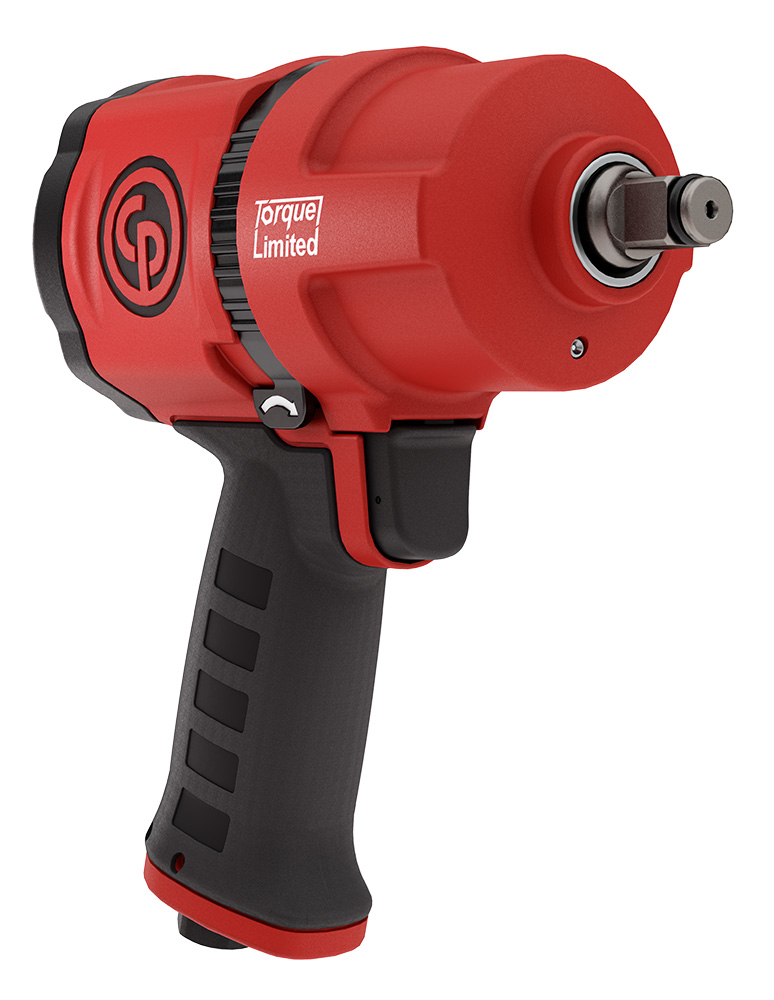
- Torque limited impact wrench + torque wrench
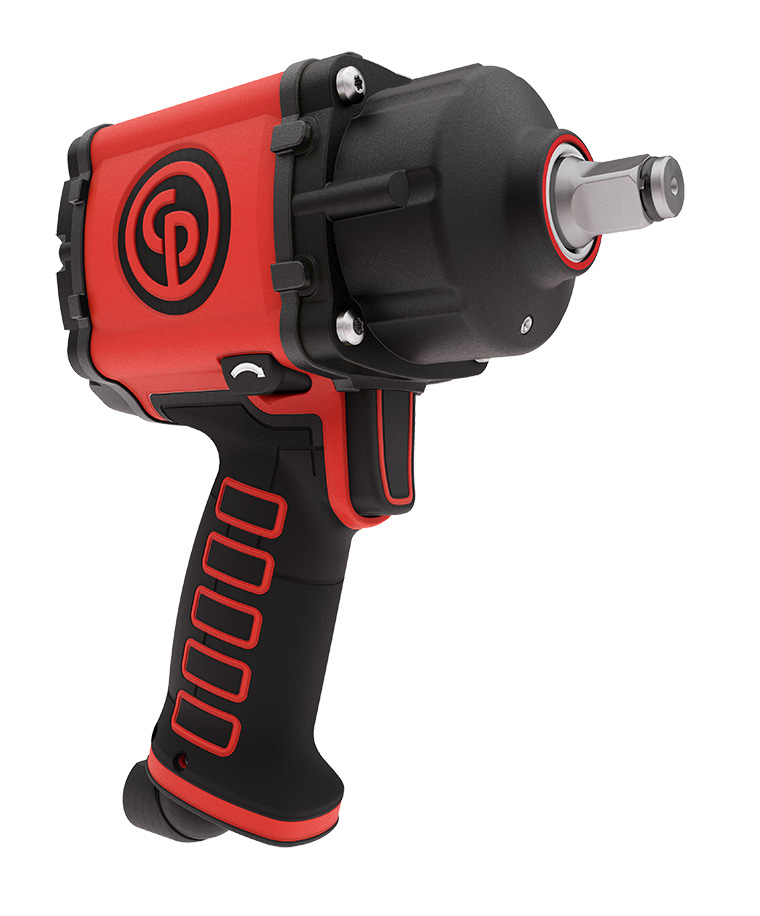
- Pneumatic or cordless nutrunner, designed for tyre changing. (We recommend checking the torque applied by the nutrunner with a torque wrench).
Our experts develop articles and guides to inform you on various topics including safety in the workplace, productivity and technical guidance. Subscribe to our Expert Corner to be informed when next articles and guides are released.